Master the art of packaged food photography with our expert tips and elevate your culinary creations from the kitchen to the camera.
Packaged food photography is an essential skill for anyone looking to showcase their culinary creations in the best light possible. Whether you’re a food blogger, a chef, or a small business owner, mastering the art of food photography can significantly enhance your brand’s appeal. In this blog, we’ll explore various techniques and tips to help you elevate your packaged food photography skills.
From understanding the basics of lighting and composition to advanced editing techniques, you’ll find everything you need to make your food photos stand out.
Mastering the Basics of Lighting
Understanding lighting is crucial for any photographer. Proper lighting can make or break your food photos.
- Natural Light: Use natural light whenever possible. Position your food near a window but avoid direct sunlight to prevent harsh shadows.
- Reflectors: Use white reflectors to bounce light onto your food, eliminating shadows and creating a balanced look.
- Artificial Light: Invest in softbox lights if natural light isn’t available. These lights mimic natural light and provide a consistent lighting source.
- Golden Hour: Shoot during the golden hour (the first and last hours of sunlight) for a warm, natural glow.
- Avoid Flash: Never use the built-in flash on your camera. It creates harsh lighting and unappealing shadows.
- Diffusers: Use diffusers to soften the light. This helps in achieving a more natural look.
- Light Direction: Experiment with different light directions to see what works best. Side lighting often adds depth and dimension to your photos.
- Consistency: Maintain consistent lighting throughout your shoot. This ensures uniformity in your photos.

Perfecting the Composition
Composition is key to capturing eye-catching photos. A well-composed shot draws the viewer in.
- Rule of Thirds: Divide your frame into a 3×3 grid and place your subject along these lines for a balanced composition.
- Leading Lines: Use leading lines to guide the viewer’s eye towards the main subject.
- Background: Keep the background simple and uncluttered to focus attention on the food.
- Props: Use props sparingly. They should complement, not overshadow, the food.
- Angles: Experiment with different angles. Overhead shots are great for flat lays, while a 45-degree angle works well for most dishes.
- Negative Space: Leave some negative space around the subject to make the photo feel less cramped.
- Symmetry: Use symmetry to create a visually pleasing composition. Symmetrical arrangements often look more professional.
- Focus: Ensure your main subject is in sharp focus, while the background is slightly blurred to create depth.

Advanced Editing Techniques
Editing can enhance your photos dramatically. Learn to edit like a pro with these tips.
- Software: Professional editing software like Adobe Lightroom or Photoshop can be used to get the best results.
- Brightness/Contrast: Adjust the brightness and contrast to make your photos pop.
- Color Correction: Correct colors to ensure they are true to life. This is especially important for food photography.
- Sharpening: Sharpen your images to reveal the details, but avoid over-sharpening.
- Cropping: Crop your photos to improve the composition and remove distracting elements.
- Filters: Use filters sparingly. They should enhance the photo, not overpower it.
- Retouching: Retouch any imperfections, but keep them natural. Over-retouching can make the food look artificial.
- Consistency: Maintain a consistent editing style for a cohesive look across your photos.

Choosing the Right Equipment
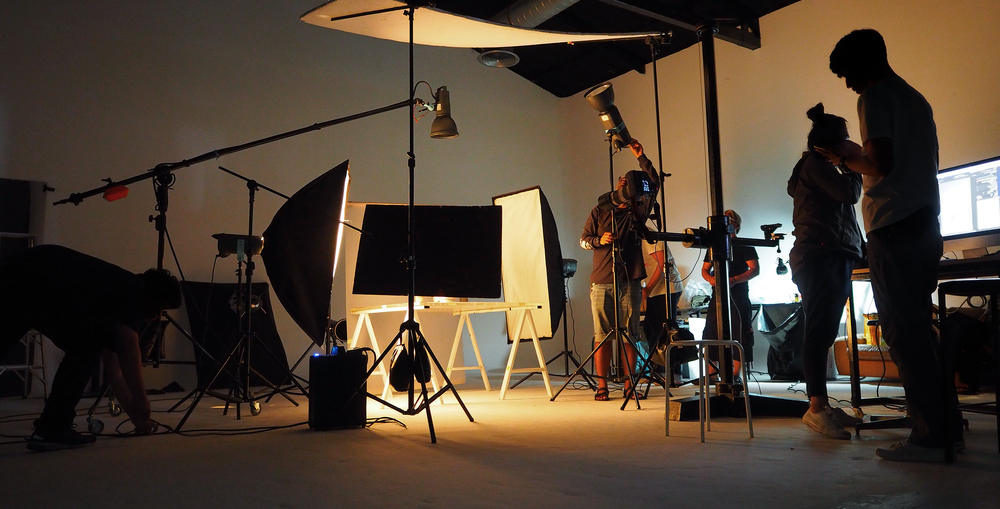
The right equipment can elevate your food photography. Invest wisely for the best results.
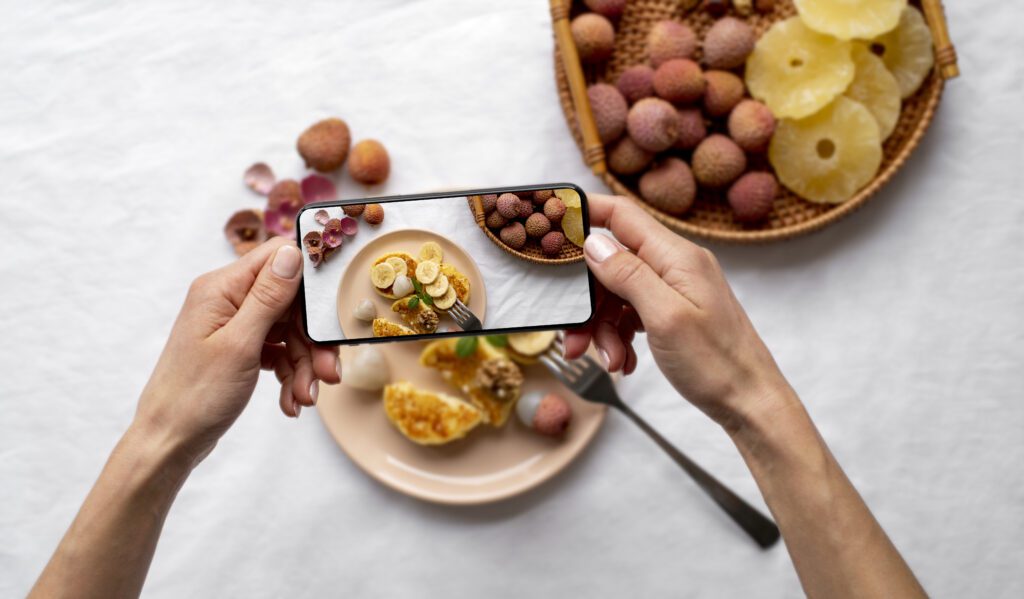
Camera: A DSLR or mirrorless camera offers the best quality, but a good smartphone camera can also work.
- Lenses: Use a macro lens for close-up shots and a wide-angle lens for broader compositions.
- Tripod: A tripod ensures stability, especially in low-light conditions.
- Lighting Kit: Invest in a good lighting kit if natural light isn’t available.
- Editing Software: Good editing software is a must for post-processing your photos.
- Props: Have a variety of props on hand to enhance your compositions.
- Backgrounds: Invest in different backgrounds to suit various themes and moods.
- Cleaning Kit: Keep a cleaning kit handy to ensure your equipment stays in top condition.

‘Enhance Your Skills with Slade Photo’
Mastering packaged food photography requires a blend of technical skills and artistic vision. By focusing on lighting, composition, and editing, you can significantly improve the quality of your food photos. Remember, practice makes perfect. The more you experiment, the better you’ll become at capturing stunning images of your culinary creations.
If you’re looking to take your food photography to the next level, consider partnering with a professional like Slade Photo. Our expertise can help you achieve the polished, professional look that sets your brand apart.
So, grab your camera, experiment with these tips, and watch your packaged food photography skills soar!
