Mastering Macro Photography for Product Shots Like a Pro!

Learn essential tips for capturing stunning macro photography in professional product shots. Enhance your skills with these expert techniques.

In the intricate world of professional product photography, capturing the smallest details can make a significant impact. Macro photography, a technique that magnifies small subjects, allows photographers to highlight the finer points of a product, revealing textures, patterns, and features that might otherwise go unnoticed. This specialised form of photography is essential for industries such as jewellery, electronics, and cosmetics, where minute details can influence consumer decisions. 

In this guide, I will delve into the essential techniques and tools required to master macro photography, ensuring your product images stand out from the competition. 

Whether you are a seasoned photographer or just starting, this comprehensive guide will provide you with the insights needed to capture the smallest details with precision.

Choosing the Right Equipment

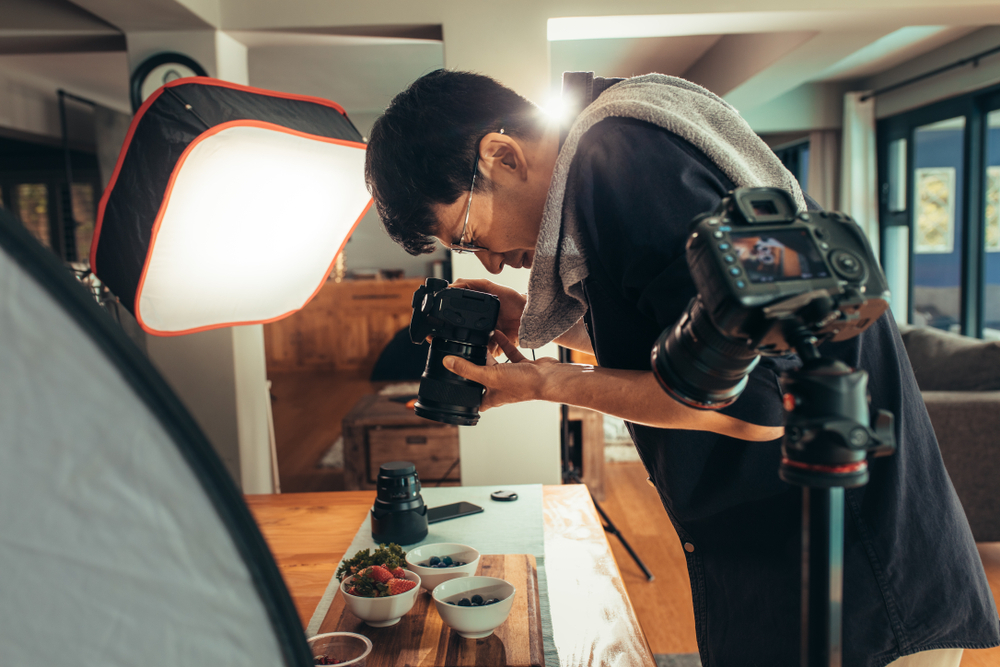
Selecting appropriate gear is crucial for macro photography success.

  • Macro Lens: Invest in a dedicated macro lens with a 1:1 magnification ratio to capture true-to-life details. These lenses are designed to focus on small subjects, providing sharpness and clarity.
  • Tripod Stability: Use a sturdy tripod to minimise camera shake, ensuring crisp, detailed images. Stability is key when working with high magnifications.
  • Lighting Solutions: Opt for continuous lighting or ring lights to evenly illuminate your subject. Proper lighting enhances textures and reduces harsh shadows.
  • Extension Tubes: Consider using extension tubes to increase the magnification of your existing lenses. They are a cost-effective way to get closer to your subject.
  • Focus Stacking: Employ focus stacking techniques to achieve a greater depth of field. This involves combining multiple images shot at different focus points.
  • Remote Shutter: Utilize a remote shutter release to avoid camera movement during exposure. This small tool can make a big difference in image sharpness.
  • Diffusers and Reflectors: Use diffusers and reflectors to control and soften light, enhancing the overall look of your product shots.
  • Macro Rails: Invest in macro rails for precise focusing adjustments. This tool allows for minute movements, crucial for high-magnification photography.
professional food photographer

Mastering Lighting Techniques

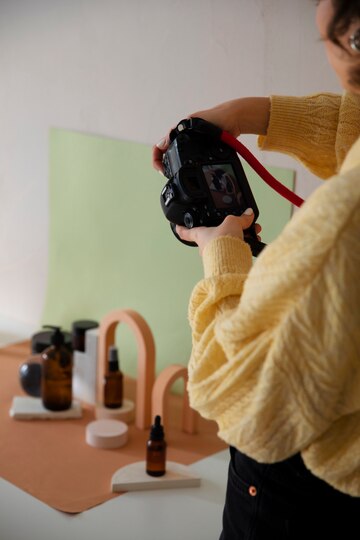
Effective lighting can transform your macro photography.

  • Soft Lighting: Soft, diffused lighting is crucial for revealing intricate details without harsh shadows. Use softboxes or diffusers to achieve this effect.
  • Backlighting Magic: Backlighting can add depth and dimension to your macro shots, highlighting translucent features. Experiment with different angles for dramatic effects.
  • Natural Light: Make use of natural light for a softer, more organic look. Position your subject near a window and use reflectors to fill in shadows.
  • Artificial Light: Control your environment with artificial lights, such as LED panels or ring lights. Consistency in lighting leads to professional results.
  • Light Modifiers: Implement light modifiers like snoots or barn doors to direct and shape light precisely where you need it.
  • Color Temperature: Pay attention to color temperature to maintain color accuracy. Use daylight-balanced lights for consistency.
  • Shadow Play: Experiment with shadows to create a sense of depth and texture. Shadows can add an artistic touch to your macro images.
  • Reflective Surfaces: Be mindful of reflective surfaces that can cause unwanted glare. Use polarizing filters to reduce reflections and enhance clarity.

Perfecting Composition Techniques

Composition is key to compelling macro photography.

  • Focus on Subject: Ensure your subject is the focal point by using a shallow depth of field. Blur the background to make your subject stand out.
  • Rule of Thirds: Apply the rule of thirds to create balanced and engaging compositions. Position your subject off-center for a more dynamic look.
  • Fill the Frame: Get close enough to fill the frame with your subject, eliminating distractions and showcasing intricate details.
  • Leading Lines: Use leading lines to draw the viewer’s eye towards the main subject. This technique adds depth and interest to your shots.
  • Background Control: Choose a simple background that complements your subject. Avoid busy backgrounds that detract from the main focus.
  • Negative Space: Incorporate negative space to emphasize the subject and create a minimalist aesthetic. This technique can make your images more impactful.
  • Symmetry and Patterns: Look for natural symmetry and patterns in your subject to create visually appealing compositions.
  • Contrast and Color: Utilize contrast and color to make your subject pop. Play with complementary colors to add vibrancy to your images.
Lifestyle product photography

‘Enhance Your Macro Photography Skills with Slade Photo’

Mastering macro photography is a journey that combines the right professional product photography equipment with refined techniques and a creative eye. At Slade Photo, we are committed to helping you capture the smallest details with precision and creativity. Whether you’re a seasoned professional or just starting, our tips and techniques can elevate your product photography, ensuring your images stand out in a crowded market. 

By investing in the right professional product photography tools, mastering lighting, and perfecting composition, you can create stunning macro shots that highlight the unique features of your products. 

Reach out to me at Slade Photo for personalized guidance and support in your macro photography journey with tips, tutorials, and professional product photography equipment recommendations. Together, we can make every small detail count.

0afa57dafd